The following is a somewhat disjointed description of
one of my major projects for a friend's boy; a toy chest. The construction took a few weeks. I'm not really a fast worker with stuff like this. Again, there aren't any detailed plans available,
since I usually build to use the materials I have on hand. I don't have any exact dimensions any more, since I gave away the toy chest. This series will let you see some of the construction details however.

1) One side . The corners are 2x4s painted brown with dados cut to hold the sides. The sides of the box are 1x8 pine with a 1/4" 45 degree chamfer on the meeting edges. These boards fit into slots into the corner uprights.
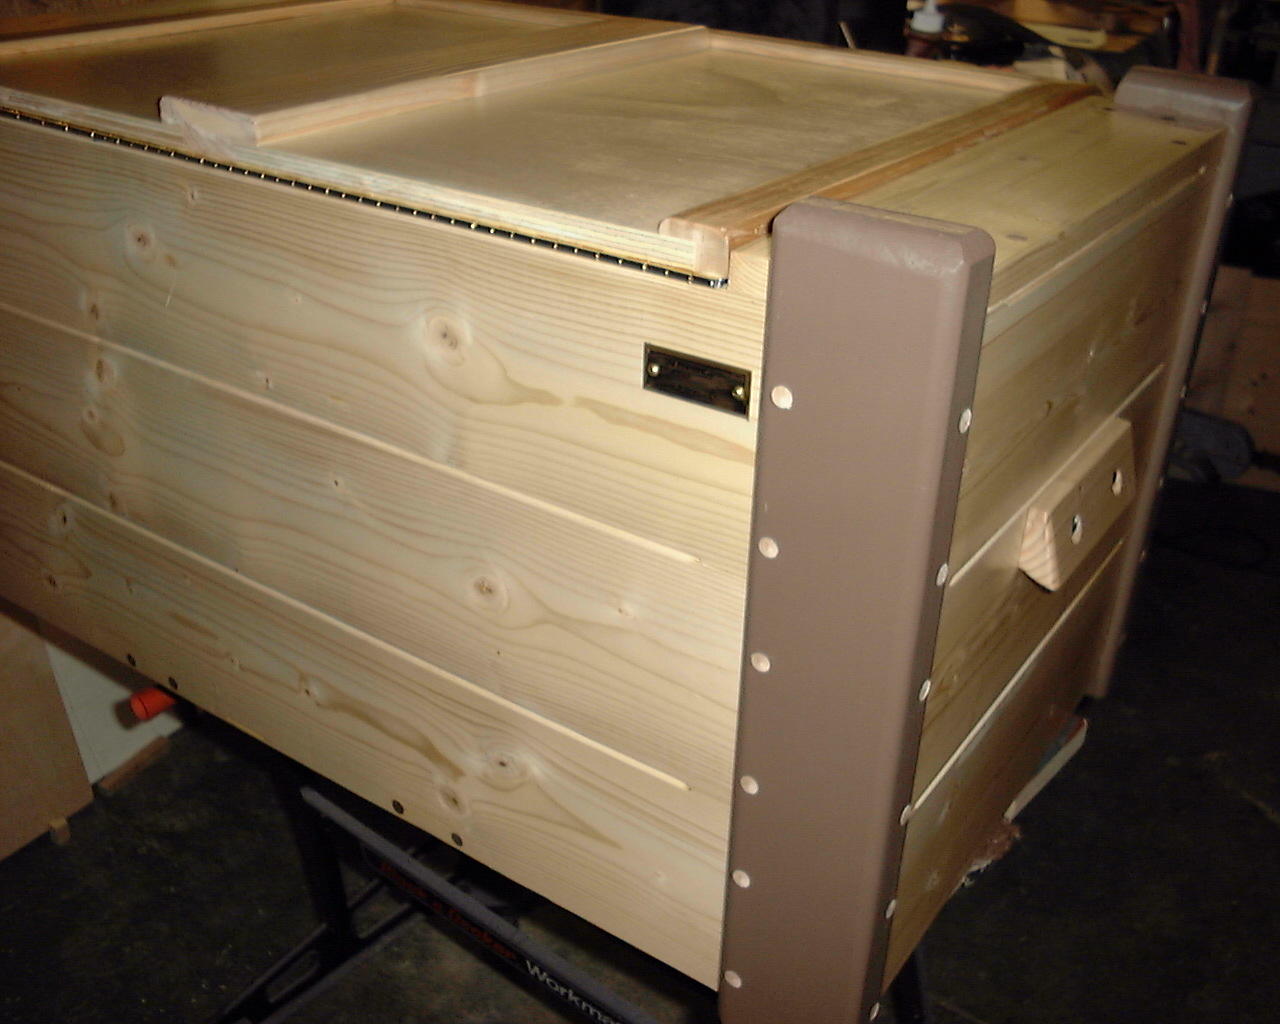
2) Dowels Everywhere . I used dowels to cover most of the mounting screws. I used #12 screws to hold the sides into the dados on the uprights. I used light colored dowels on the corners and dark on the bottom for contrast. You can't read it, but I attached an engraved name plate on the back side.
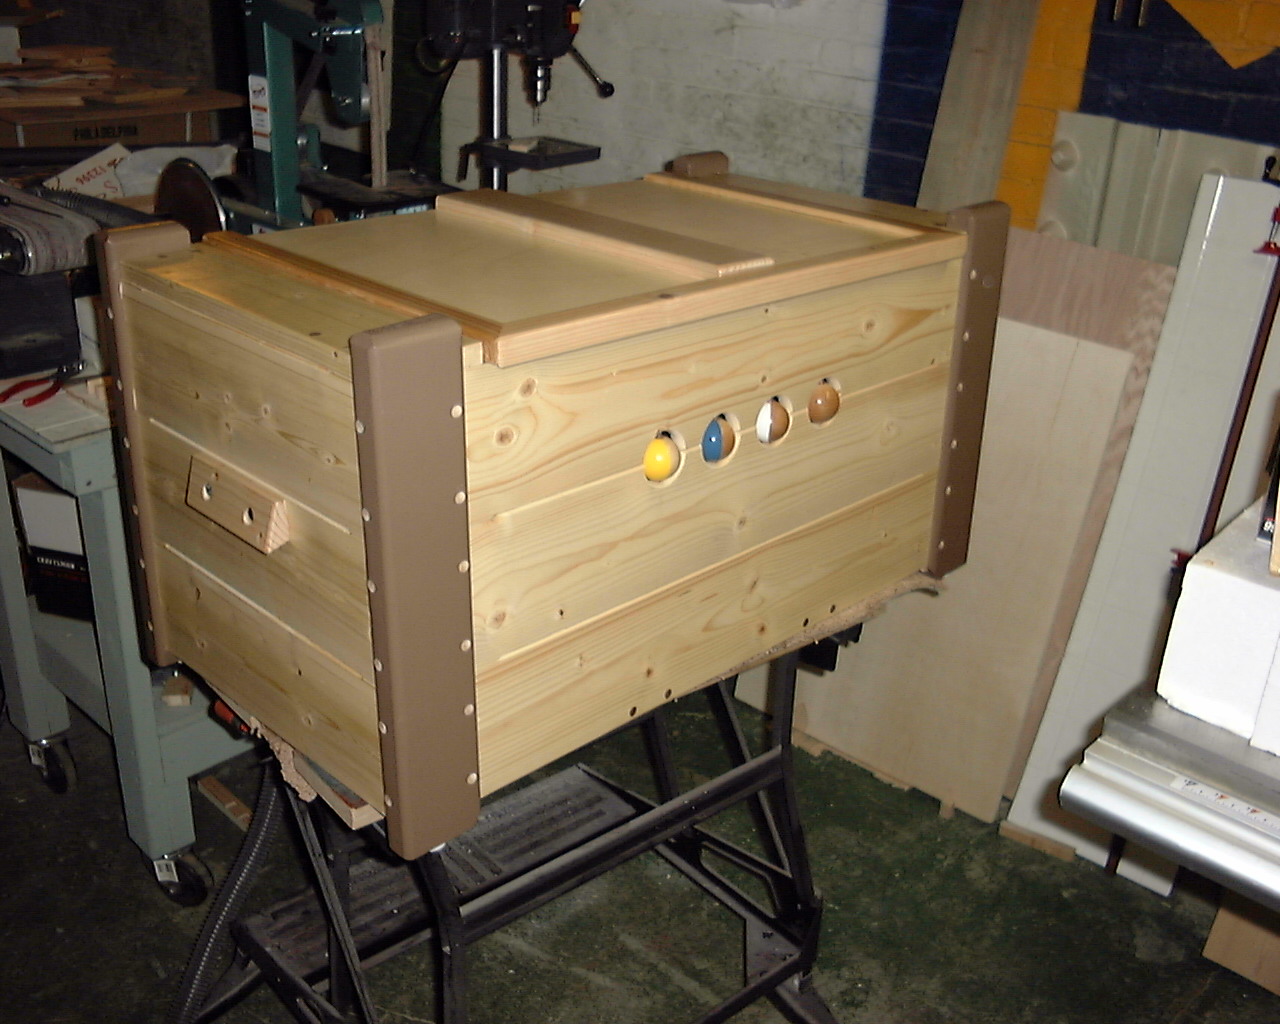
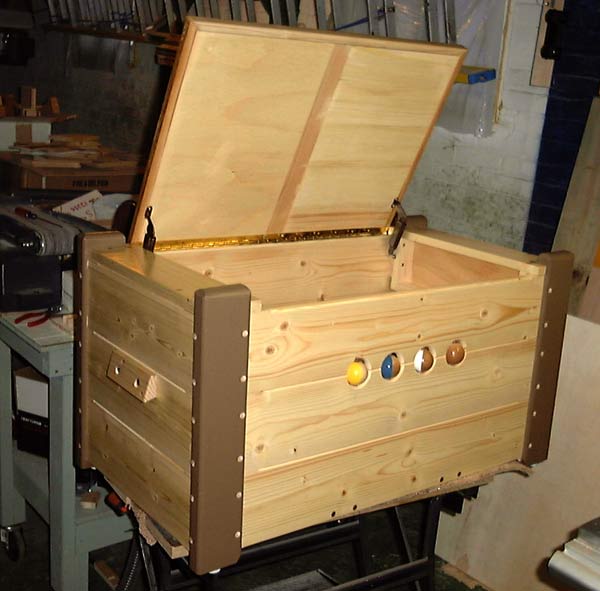
3) In the air . Here's an overall view from the front. You can see the side handles, the spinning balls and the closed top. Part of the reason for the spinning balls, besides something to play with, is that they allow ventilation if a kid gets inside the box.

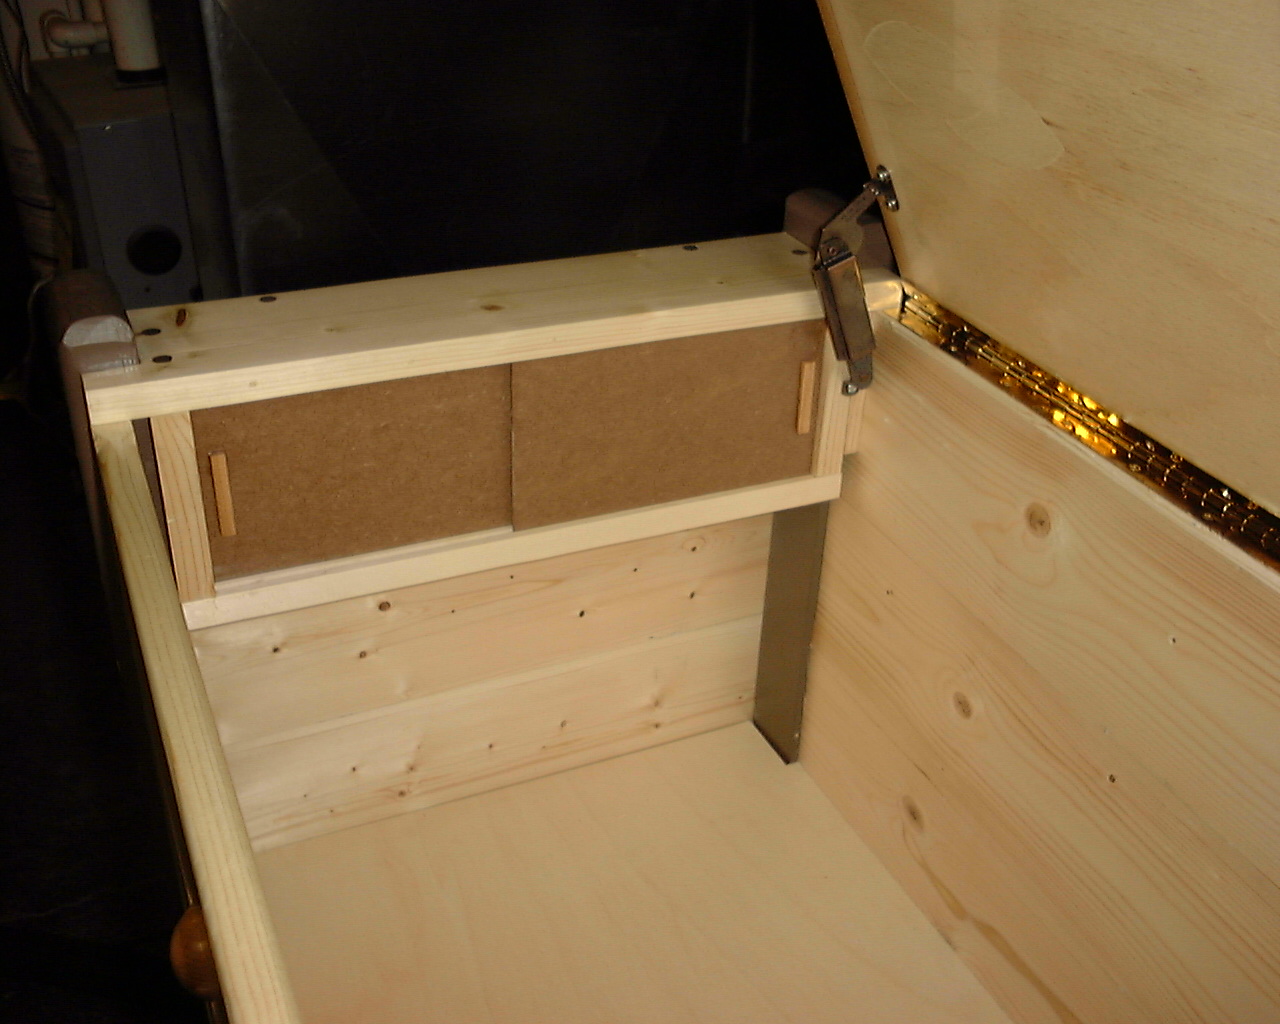
4) It opens . Thankfully, I didn't glue the top shut. There's a full length piano hinge across the back and slow-closers on both sides to keep the lid from slamming shut. The slow-closers keep the top from slamming on little fingers.
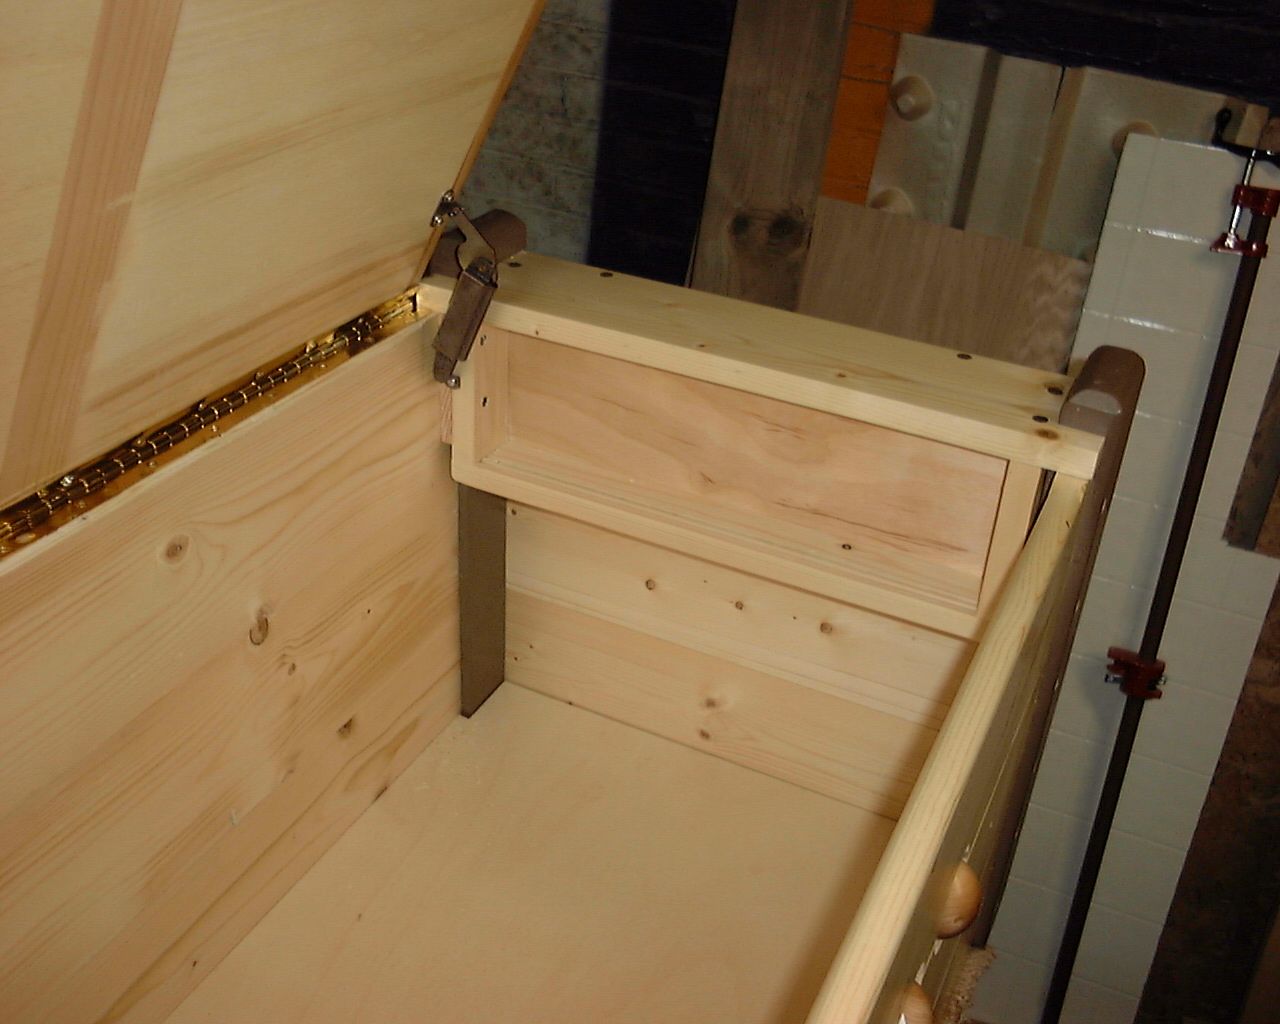
5) Side shelves . I've added some small shelves to each side that will end up with sliding doors. You have a better look at the top support and can somewhat see the walnut screw plugs along the top of the side shelves.
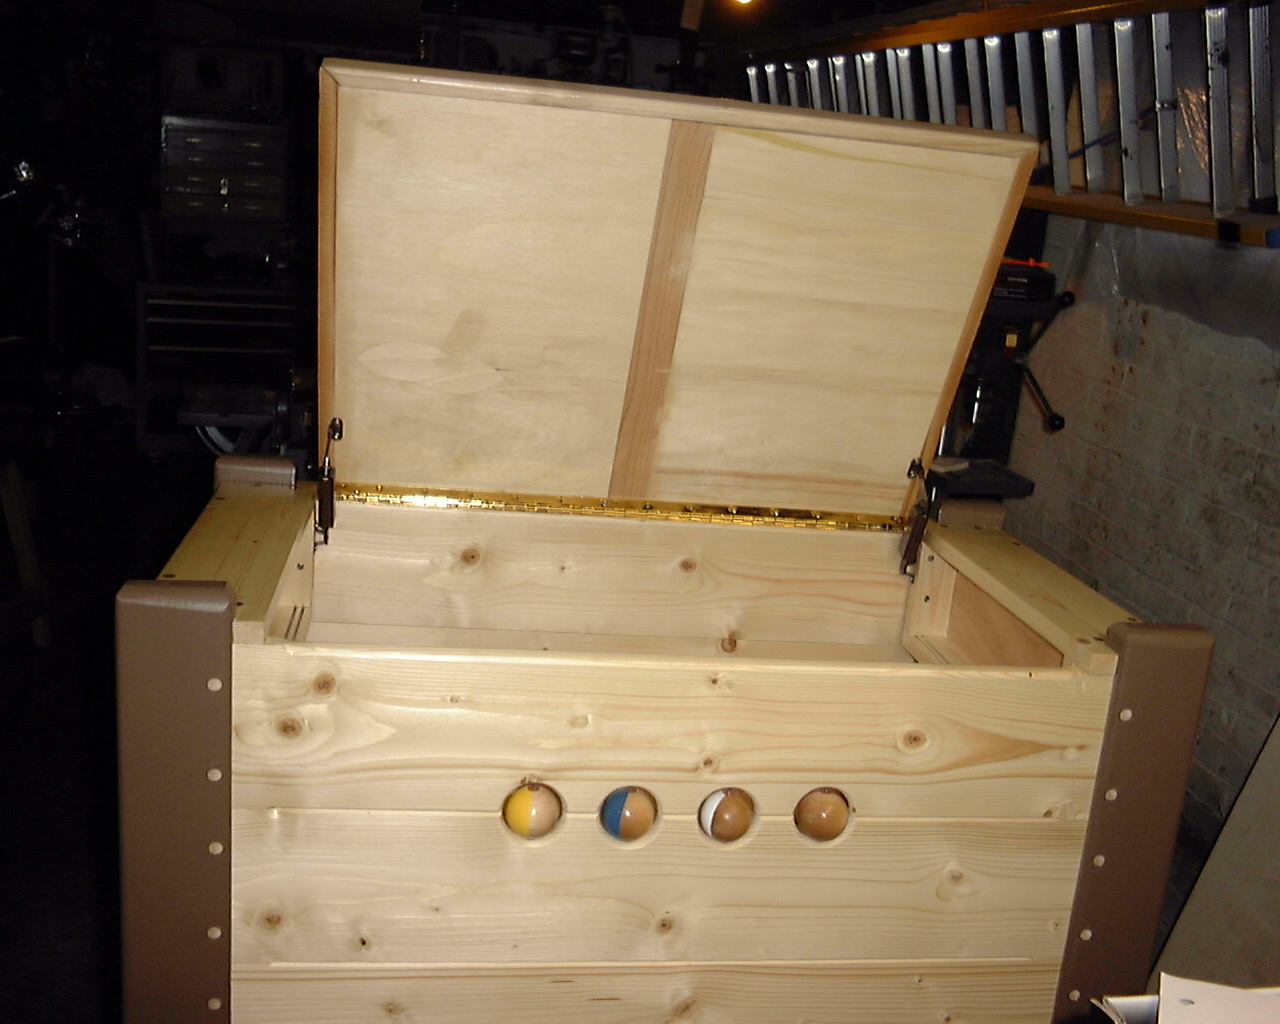
6) Sill opened . Here's the front of the chest again. The top is supported in the middle by an extra board and the balls on the front are round wooden balls with half of them painted. They spin on wire spindles trapped by the two front boards and have small washers on their top and bottom.
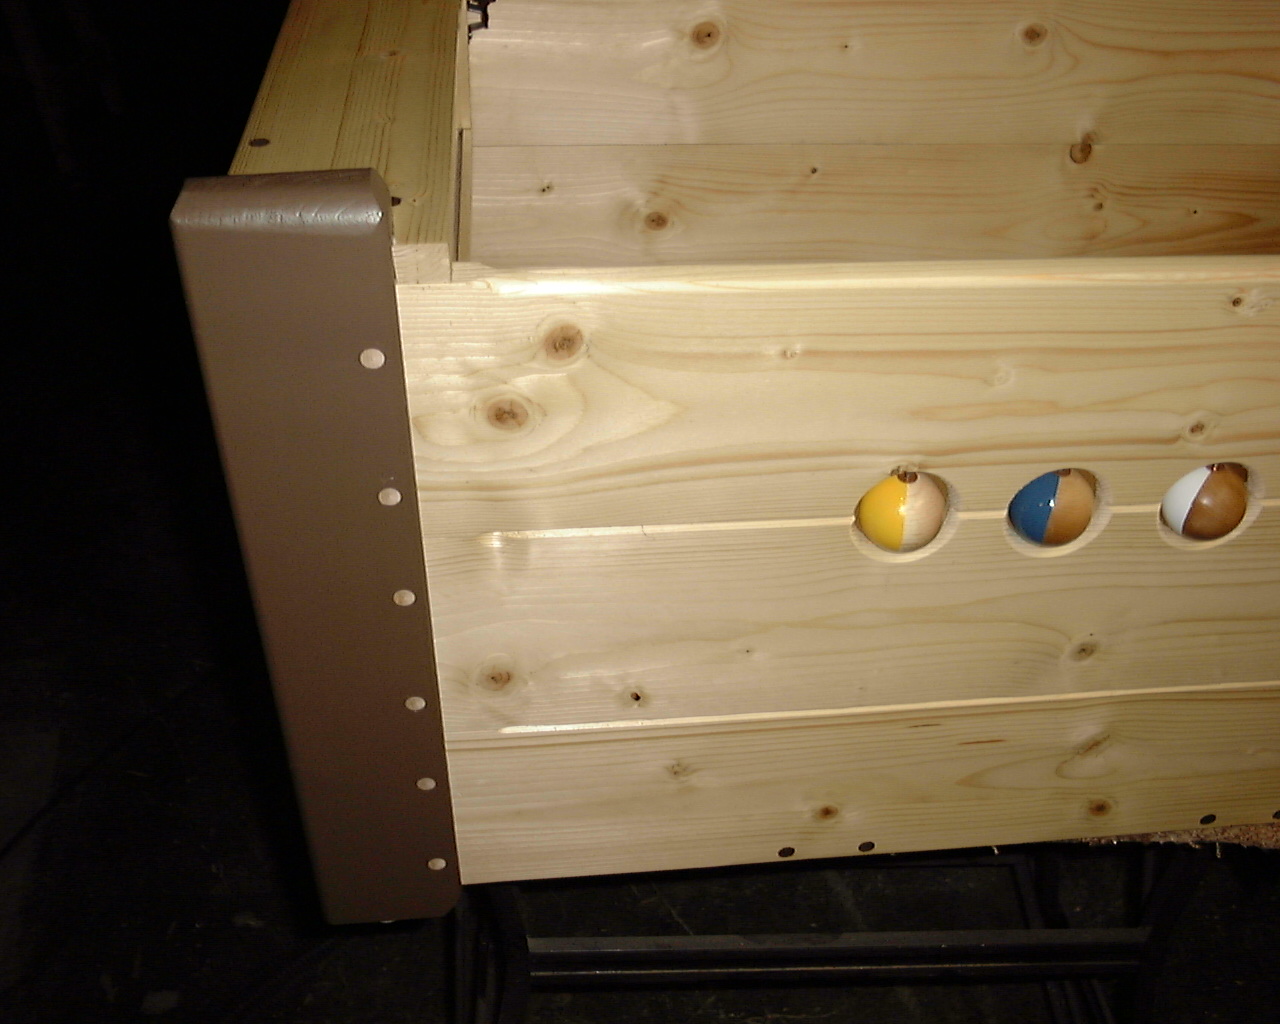
7) Oh balls . A little better look at the balls also showing the light colored screw plugs on the corner support.

8) A side view. The handle on the side is cut from a scrap of 2x4 and screwed into the side. Without the handles, this box can be hard to move.
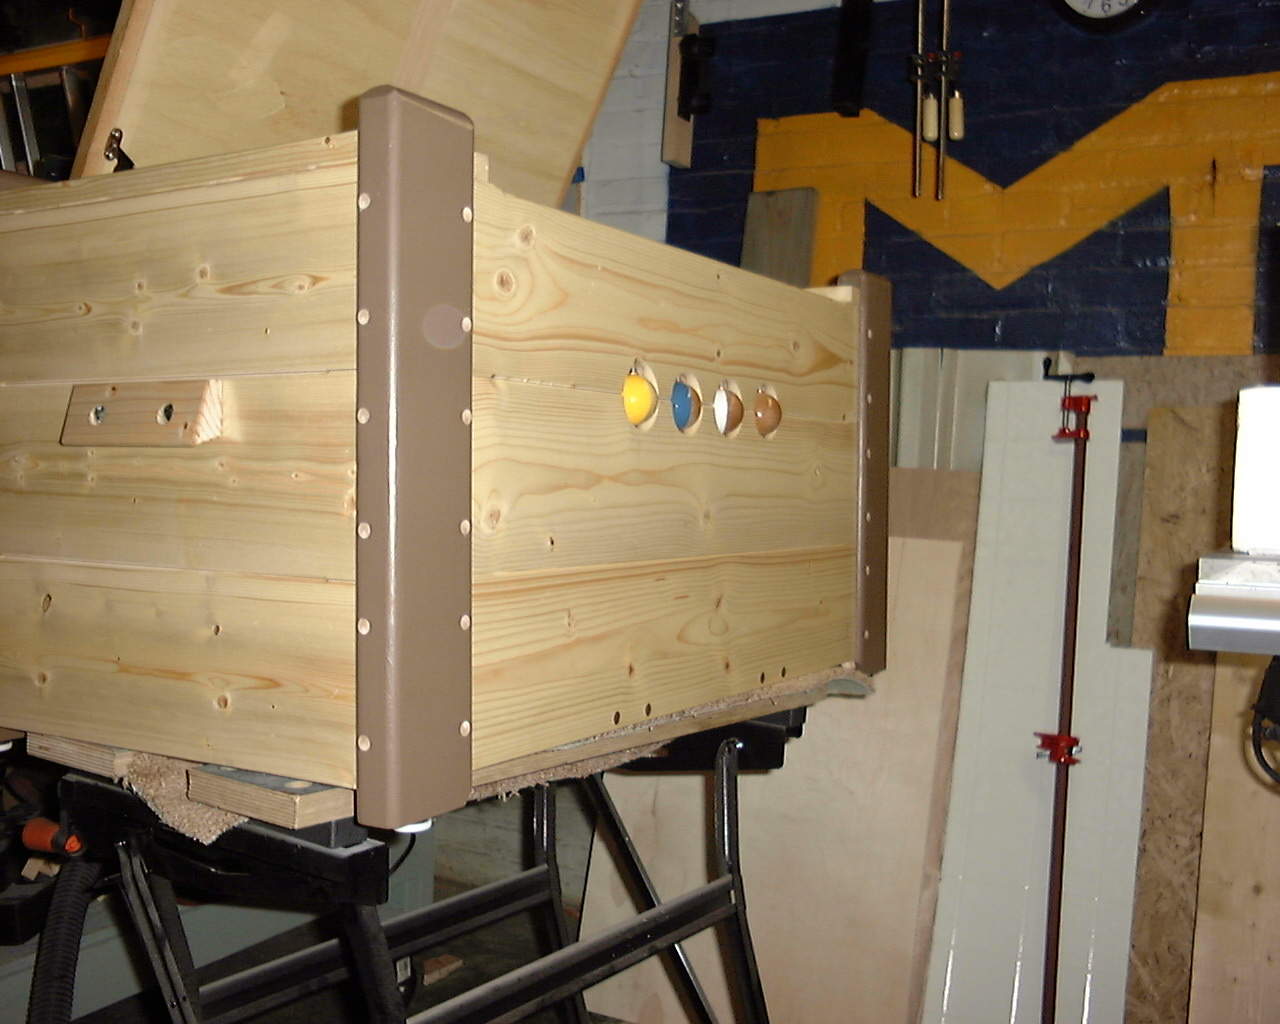
9) Corners. Just about the same view as above. You can see corner support a bit better in this image.
10) Side doors one . A peek at the side doors made of some hardboard and slipped into grooves cut in the side shelves.
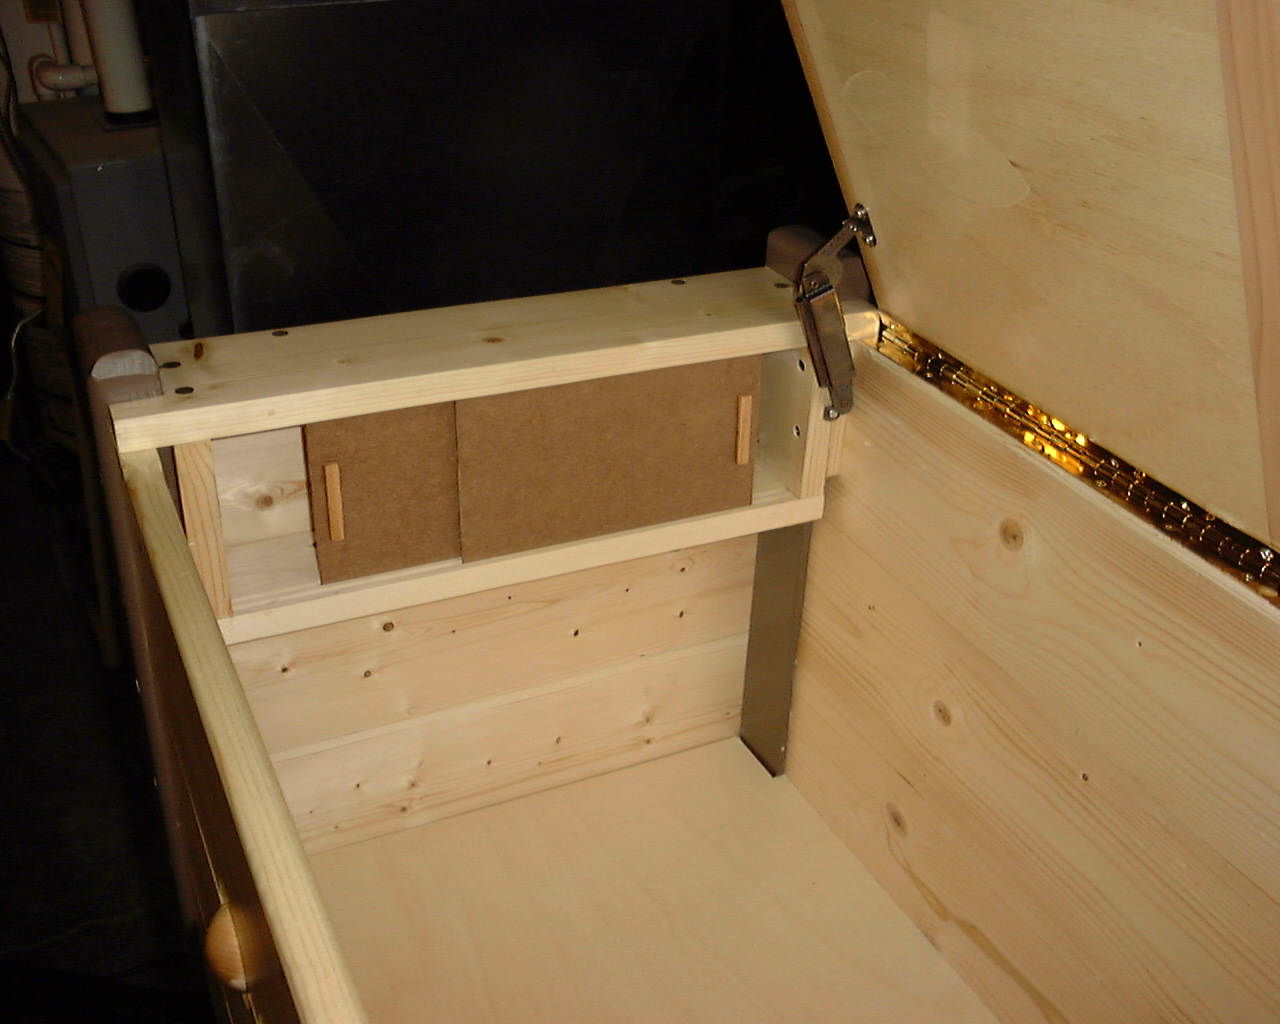
11) Side doors two. And once again, I manage not to glue the doors shut.
12) Final look . It's done and as far as I know still in use. I do know the kid loved to spin the balls as he walked past. Haven't seen the mom or kid for a few years, so I'm guessing it's still around.
13) Construction Notes: All the wood used was standard construction 1x4, 1x8 and 2x4s with a little plywood tossed in. All minor knots, dents and other defects were filled in with wood putty. The wooden balls were 2" wood balls from the local craft shop painted and clear-coated.
Dados were cut with a Craftsman table saw using a CHEAP Harbor Freight Dado Blade. I used a Delta drill press and Delta mortising attachment to cut the mortises. Most all 90 degree cuts were made with a DeWalt 10" miter saw.
All pieces were sanded with a Makita orbital sander and finished with 3 or 4 coats of Minwax Polycrylic Satin. Most of the glue used was Titebond III. Most fasteners were brass wood screws with a brass plated piano hinge also used.
Plans. My plans are normally rough sketches with approximate dimensions. Usually, I cut to fit parts after coming up with one or two basic dimensions that everything else is derived from.